

Through a lot of testing and iterations of our deployment process, we think we finally nailed it.
As such, we’d like to share with the community how we use Microsoft Azure Continuous Deployment and GitHub for **awesomely simple deployments. **And, how you can too. See the details of implementing this deploy workflow later in the article, below.
Exceptionless Deployment History
In the Beginning
When we first started Exceptionless, we deployed it as a monolithic application, meaning the server and UI were one piece, or app. We used Octopus Deploy to deploy to a single IIS machine, which involved setting up a website and server for the Octopus Deploy service and configuring build agents, on each server we deployed to, that could deploy build artifacts.
The Move to Azure
After a year or so of managing Exceptionless on colocation boxes in a Dallas data center, we realized that we didn’t want to manage hardware anymore and we could scale easier on a managed service like Azure. So, we moved to Azure, where we had to set up a VM just to manage deployments with Octopus Deploy. There were also issues that we ran into with deploying to Azure WebSitThis was annoying, since every time we wanted to do a release we had to log in and tell the system to deploy to production.
We knew there had to be a better way.
Two Steps Forward...
Soon, we decided to split the UI and Server apps so we could deploy and work on them independently. This also meant they could scale independently and one change to either wouldn’t cause the whole site to go down when deploying. Splitting the two helped a lot, but it added more work as we now had to manage two Octopus Deploy projects. So, we started looking at the Continuous Deployment in Azure.
Aha! Eureka! Solution Time!
We researched further and found out that if we used Git Flow as a development workflow, we could ditch Octopus Deploy completely, remove that dependency, and just use Git push to manage our deployments.
With Git Flow, you do all your work in feature branches and the master branch is always stable. This allows us to set up GitHub deployment on the master and deploy to Azure automatically, with no work required! So anytime we push to the GitHub master branch, it automatically deploys to production on Azure. That simple!
Here is the BASIC workflow:
- We create a new feature branch, then work on that branch until it is completed and tested. Testing is done on the website that is currently pointed to the feature branch, which is separate from production.
- When we commit to any branch, our continuous integration (CI) server picks up the changes via a GitHub webhook, pulls them down, then builds the project.
- We then take all of the build artifacts and push them to a second GitHub repository using the same branch that the code was pushed to (for example, the master branch). This allows you to see exactly what artifacts change between releases (stateless too) and different branches.
- Those changes are then automatically pushed via Azure Git Deploy.
- Profit!
This is very slick! Since we push artifacts to the same branch they were built onto a build repository. We can then set up different environments that get auto deployed when we push to that branch. For example: When we are working on a feature, we commit to our branch. We can then set up a new website in Azure that pulls from the build server’s Git artifacts branch for that feature. This allows us to test and automate environments!
Detailed Continuous Deployment Setup
Here are the details on our solution for simple app deployment using GitHub and Azure.
1. Use AppVeyor to build the app.
2. Store build artifacts in a separate GitHub artifacts repository.
This works really well because you can see the entire history of your build artifacts and browse their contents. Plus, GitHub hosts it for free!
We found that we could that GitHub could understand and parse into different links. We can click on the "Commit:" part of the message to link to the actual commit that is building to see exactly has changed.
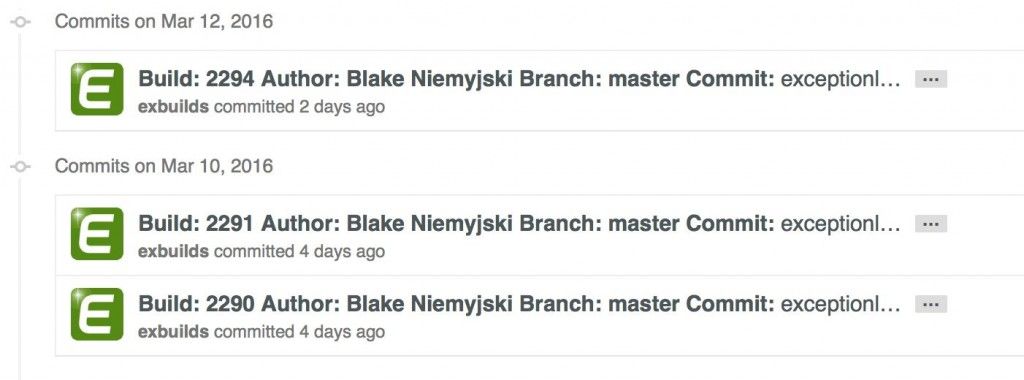
We can then click on the build to see what artifacts changed.

Another great thing about using Git to store your artifacts is that you can easily clone the artifacts to your local machine to see the exact files that are being used in a specific environment.
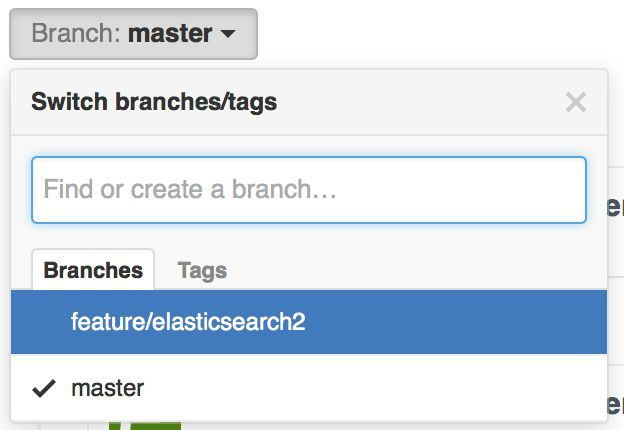
The artifacts repository has branches to match the branches of our code repo so we have separate build artifacts for each branch. This also means that we can just merge the feature into master when we are done and that will cause the production website that is pointed to our master repository to automatically get updated. So, it’s as simple as merge your branch to master to promote a build to production.
One issue with this approach is that the repo can get large because we are storing binary files that change on every build. We are looking into using Git Large File Support to fix this issue.
3. Automate pushing of artifacts to a secondary GitHub repository.
For our .NET application, Exceptionless, we invoke a PowerShell script on post build to clone and commit the changes to the Git artifacts repository.
- Our first step is to clone the existing build artifacts repo to an artifacts directory.
- Next, we change to the same branch that we are currently building, if it doesn’t exist we create it.
- Then, we remove all existing files in the artifacts folder. This ensures we don’t have any conflicts and we can see exactly what was added or removed.
- Next, we copy our build artifacts into the artifacts folder. This allows us fine grained control over our artifacts.
- Next, we try to commit all artifacts to the artifacts repository. If there were no changes between the last build, then we exit.
- Next, we push the artifacts to our GitHub artifacts repository, which will then trigger Azure Continuous Deployment to pick up the changes.
- Finally, we create tag the artifacts repository which points to the specific GitHub commit we are building in our main repository.
For our static Angular JavaScript app (UI), we invoke a Grunt publish task from our post build event. The publish task called into a gh-pages task that publishes our built dist folder to the GitHub artifacts repository automatically.
4. Point Azure Continuous Deployment to the Artifacts Repository
It will see when new artifact commits happen and automatically deploy the changes.
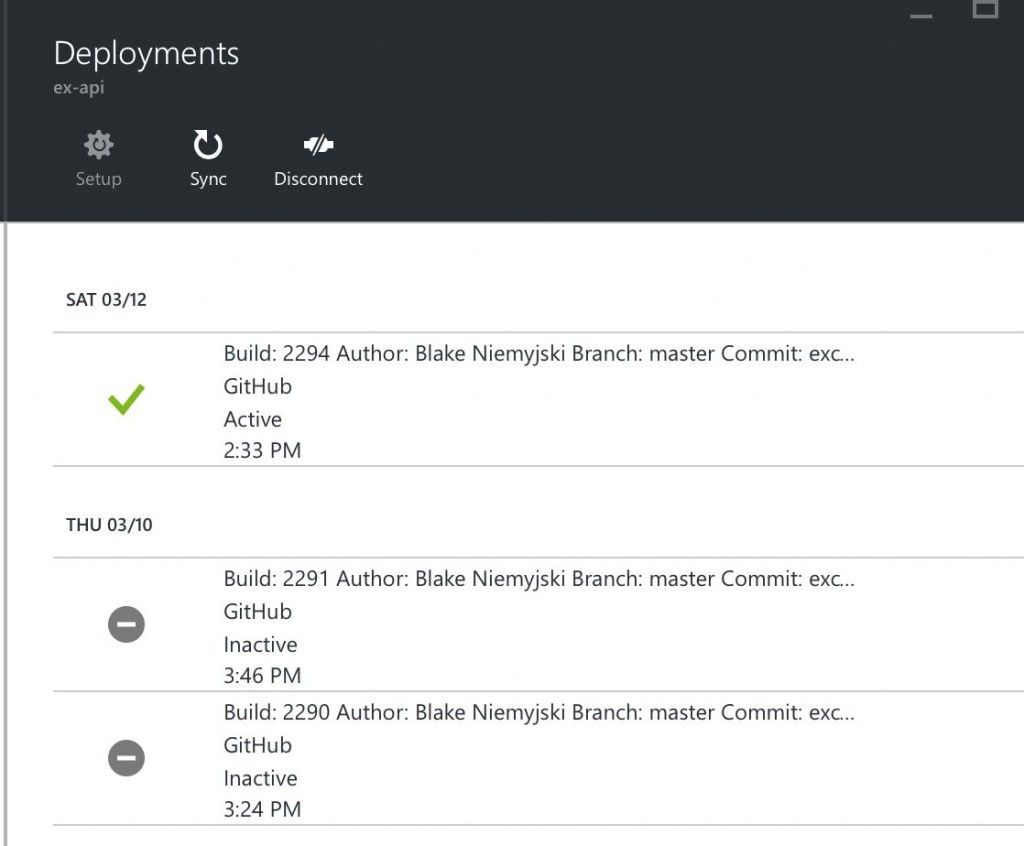
Azure Continuous Deployment is another Git repository that we can easily view to see the history of deployments to each of our sites. It also allows us to easily roll back to previous versions.
5. Use Environment Variables to Override Config Settings Per Environment
Azure Websites makes this very easy.
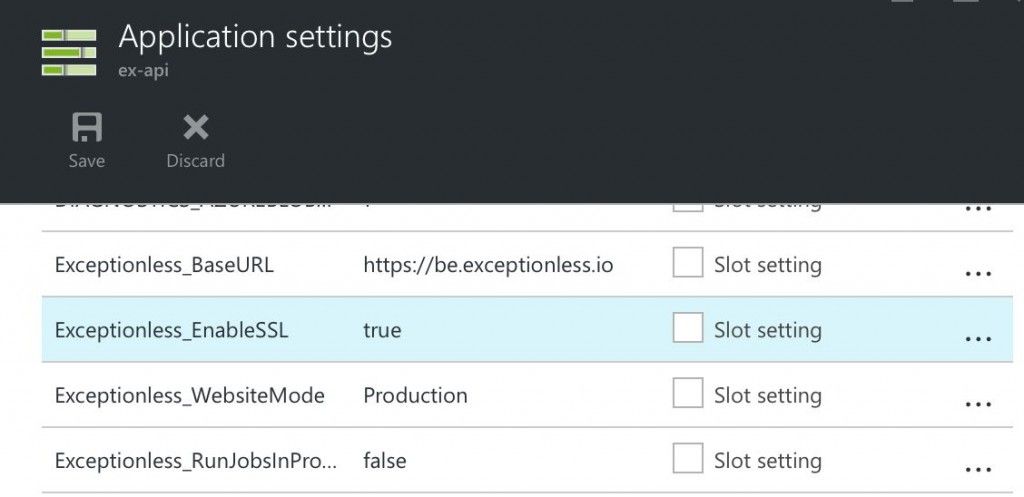
No production settings are stored in source control or artifacts repository.
For our ASP.NET application, our settings class will look up named settings in the following order:
- environment variables
- local config.json file
- app settings
It will then fall back to a default value if no explicit settings are found.
Configuring our static Angular JavaScript app is a bit more work since it can't look these settings up dynamically at runtime. So instead we add some code to our deployment process.
- Azure automatically runs a deploy.sh file after getting the artifacts via git deploy. It’s sole job is to run a node script that rewrites our app.config.js settings with settings defined in environment variables.
Conclusion
You can create multiple Azure websites (think environments) that use Continuous Deployment and point them to multiple artifact branches to support different environments!
Pro Tip: We created a http://local-app.exceptionless.io website for our spa website that’s pre-built and points to your localhost Exceptionless server. This allows us to do work on the server part without setting up or configuring a local instance of our spa app. Development made simple!
We won't lie, it took some work to get here, but the good news is you can do this really easily too. Please feel free to steal our deployment scripts and modify them for your projects. And let us know if you have questions along the way!